Step 01
Understand the Challenges of Concrete Ceilings
Solid concrete slabs were never designed to host modern lighting. Before any design decision is made, the limits of the structure must be understood — particularly in Florida high-rises and post-tension condos where the slab cannot be cut.
Traditional Methods
- Drilling and chasing the slab
- Risk to post-tension cables
- Heavy concrete dust
- Difficult fixture relocation
- Major demolition required
- Lost ceiling height (6–12 in)
Stretch Ceiling System
- Slab remains untouched
- Anchors to walls only
- Virtually dustless install
- Future fixture flexibility
- Single-day installation
- Only 1.25–1.5 in drop
Step 02
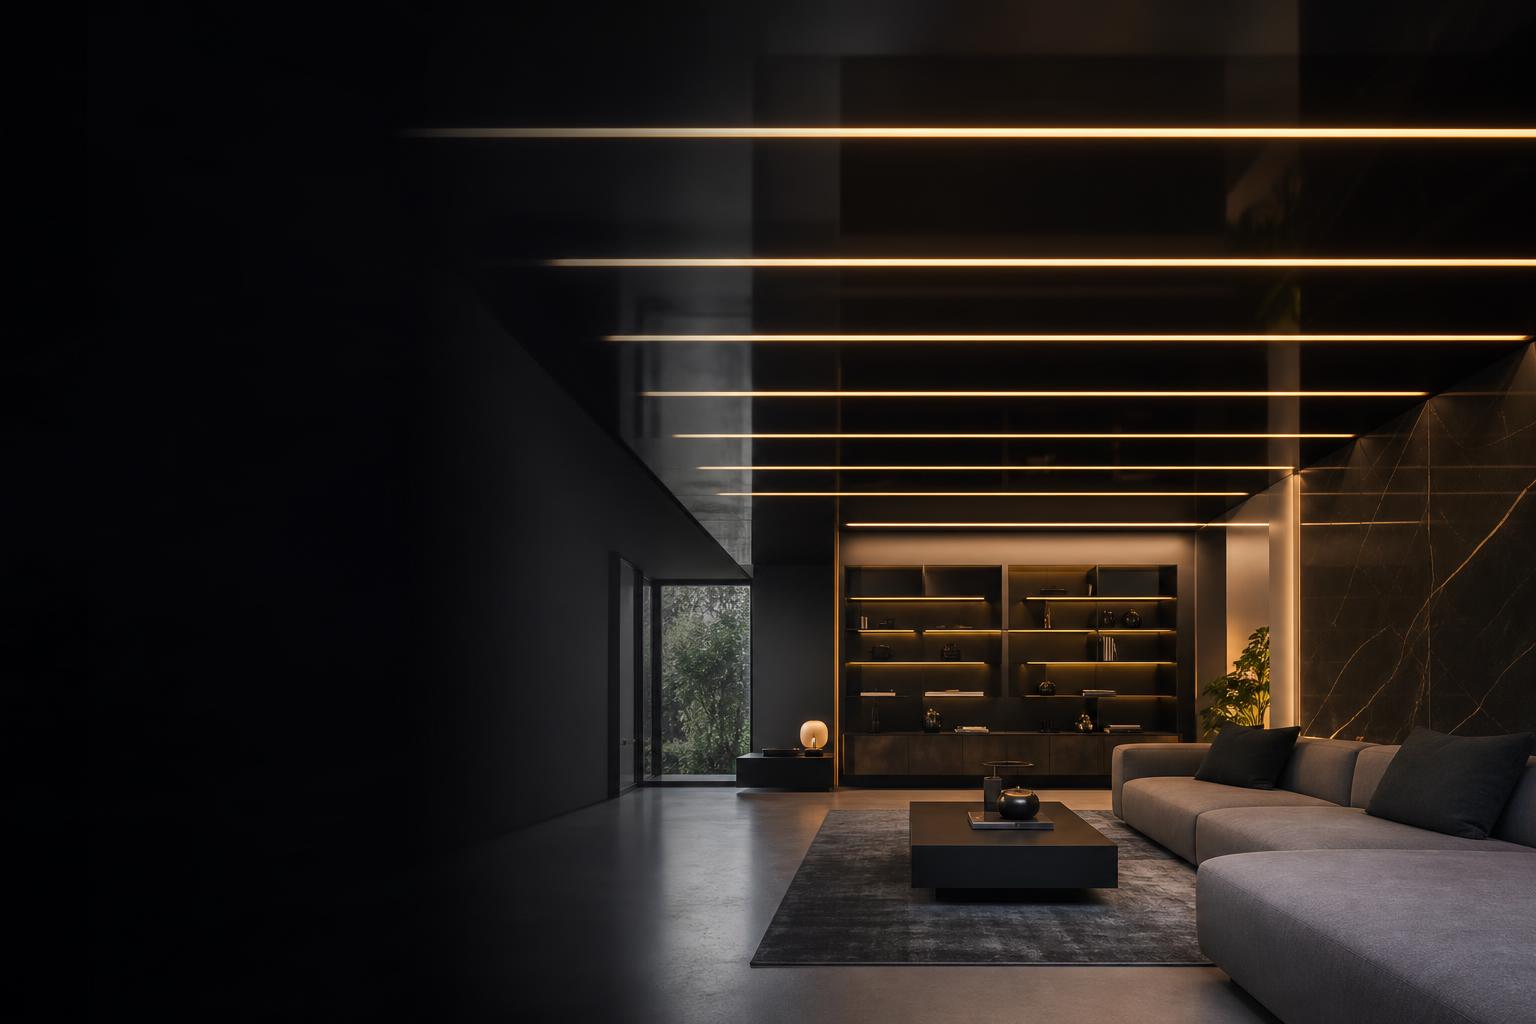
Why Stretch Ceilings Unlock Unlimited Lighting Possibilities
A tensioned membrane suspended below the slab creates a thin design cavity. Every form of modern architectural lighting — and most ceiling features beyond it — becomes possible.
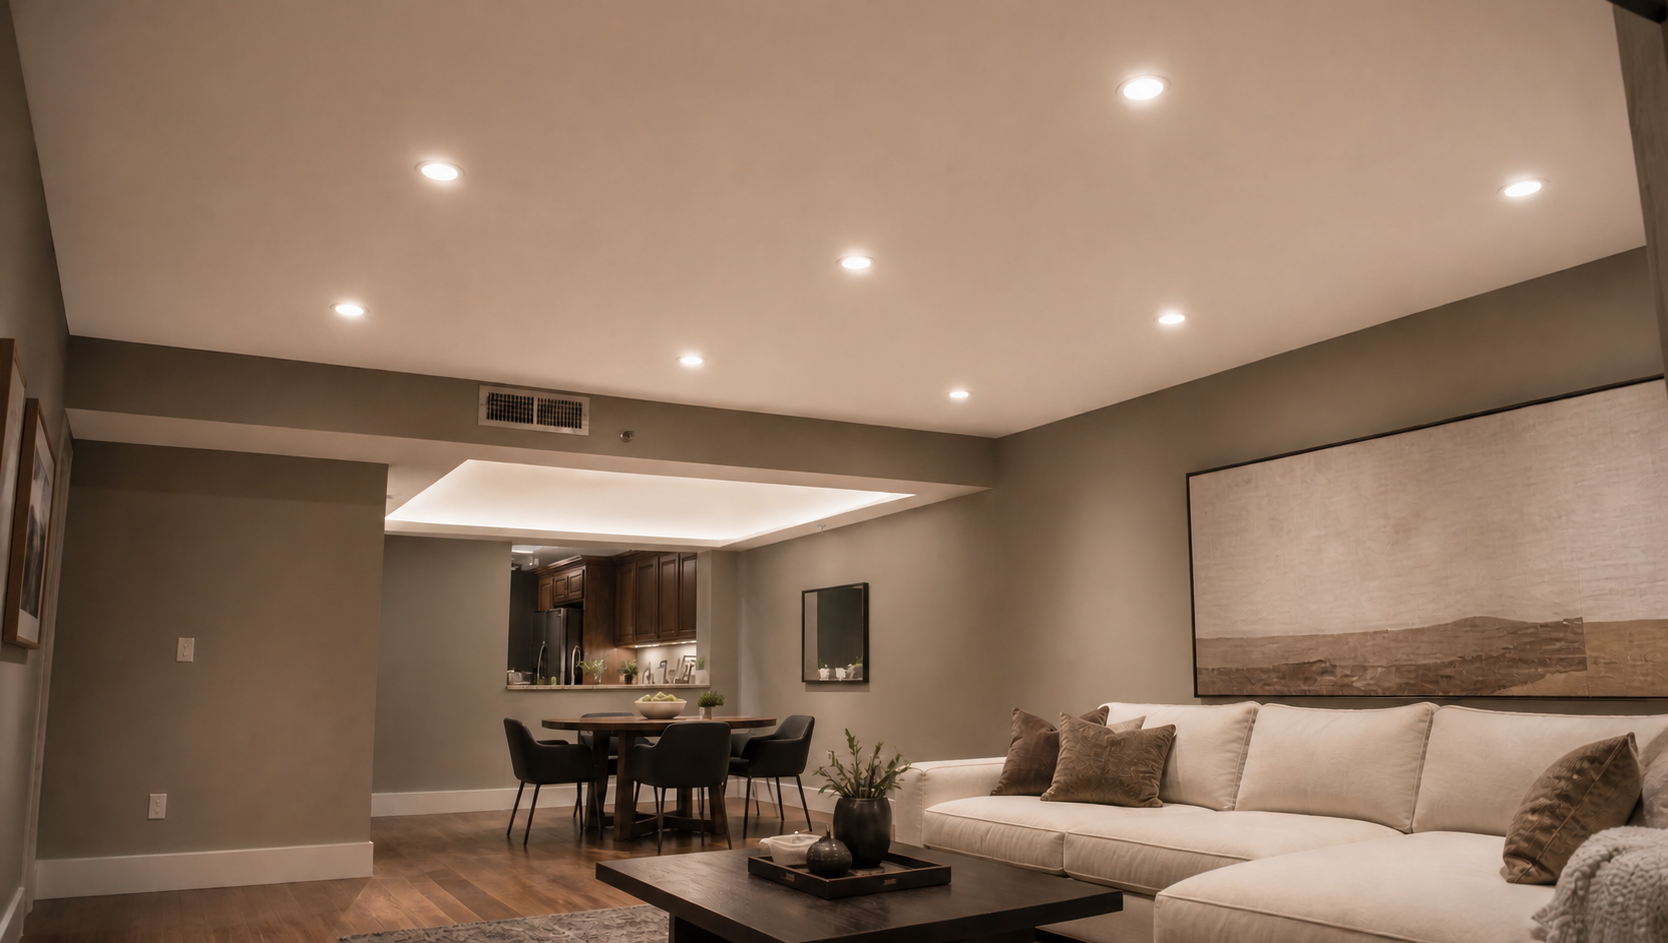
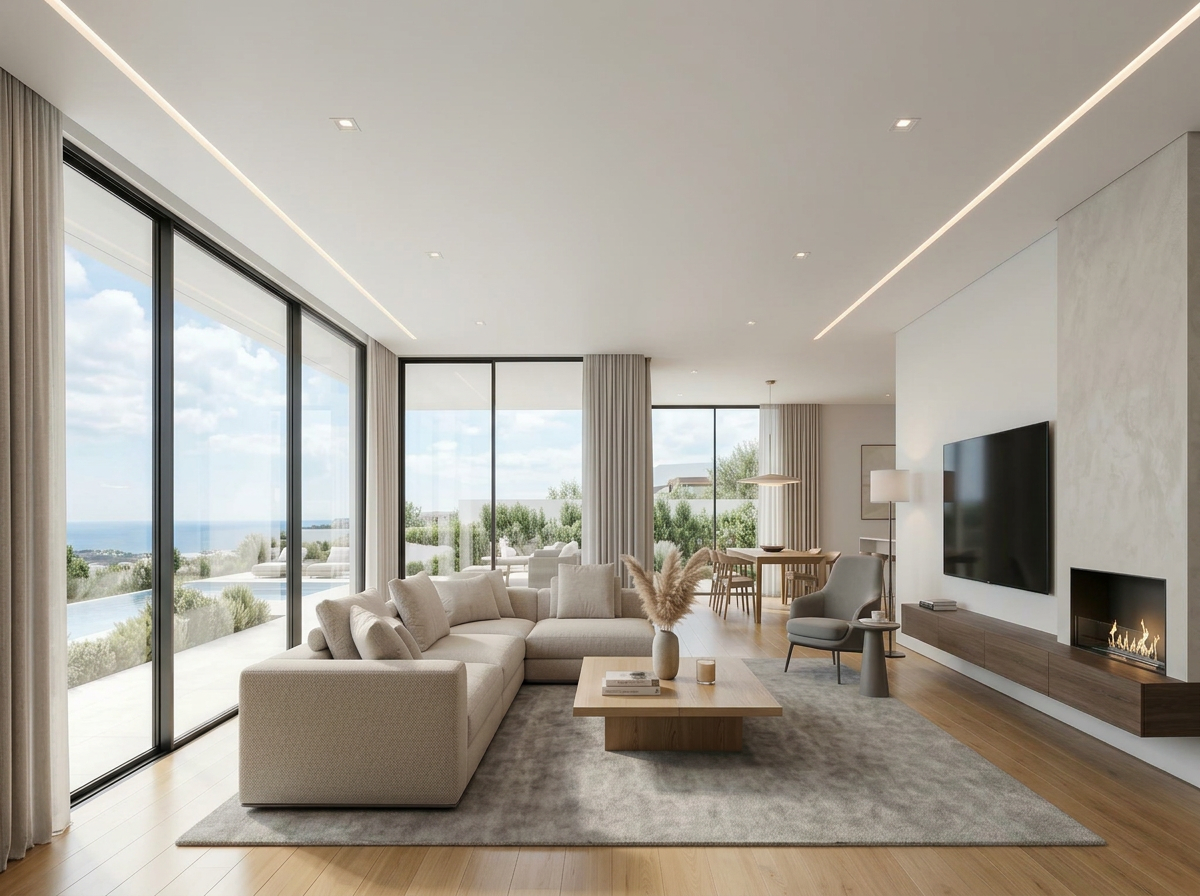
Recessed Lighting
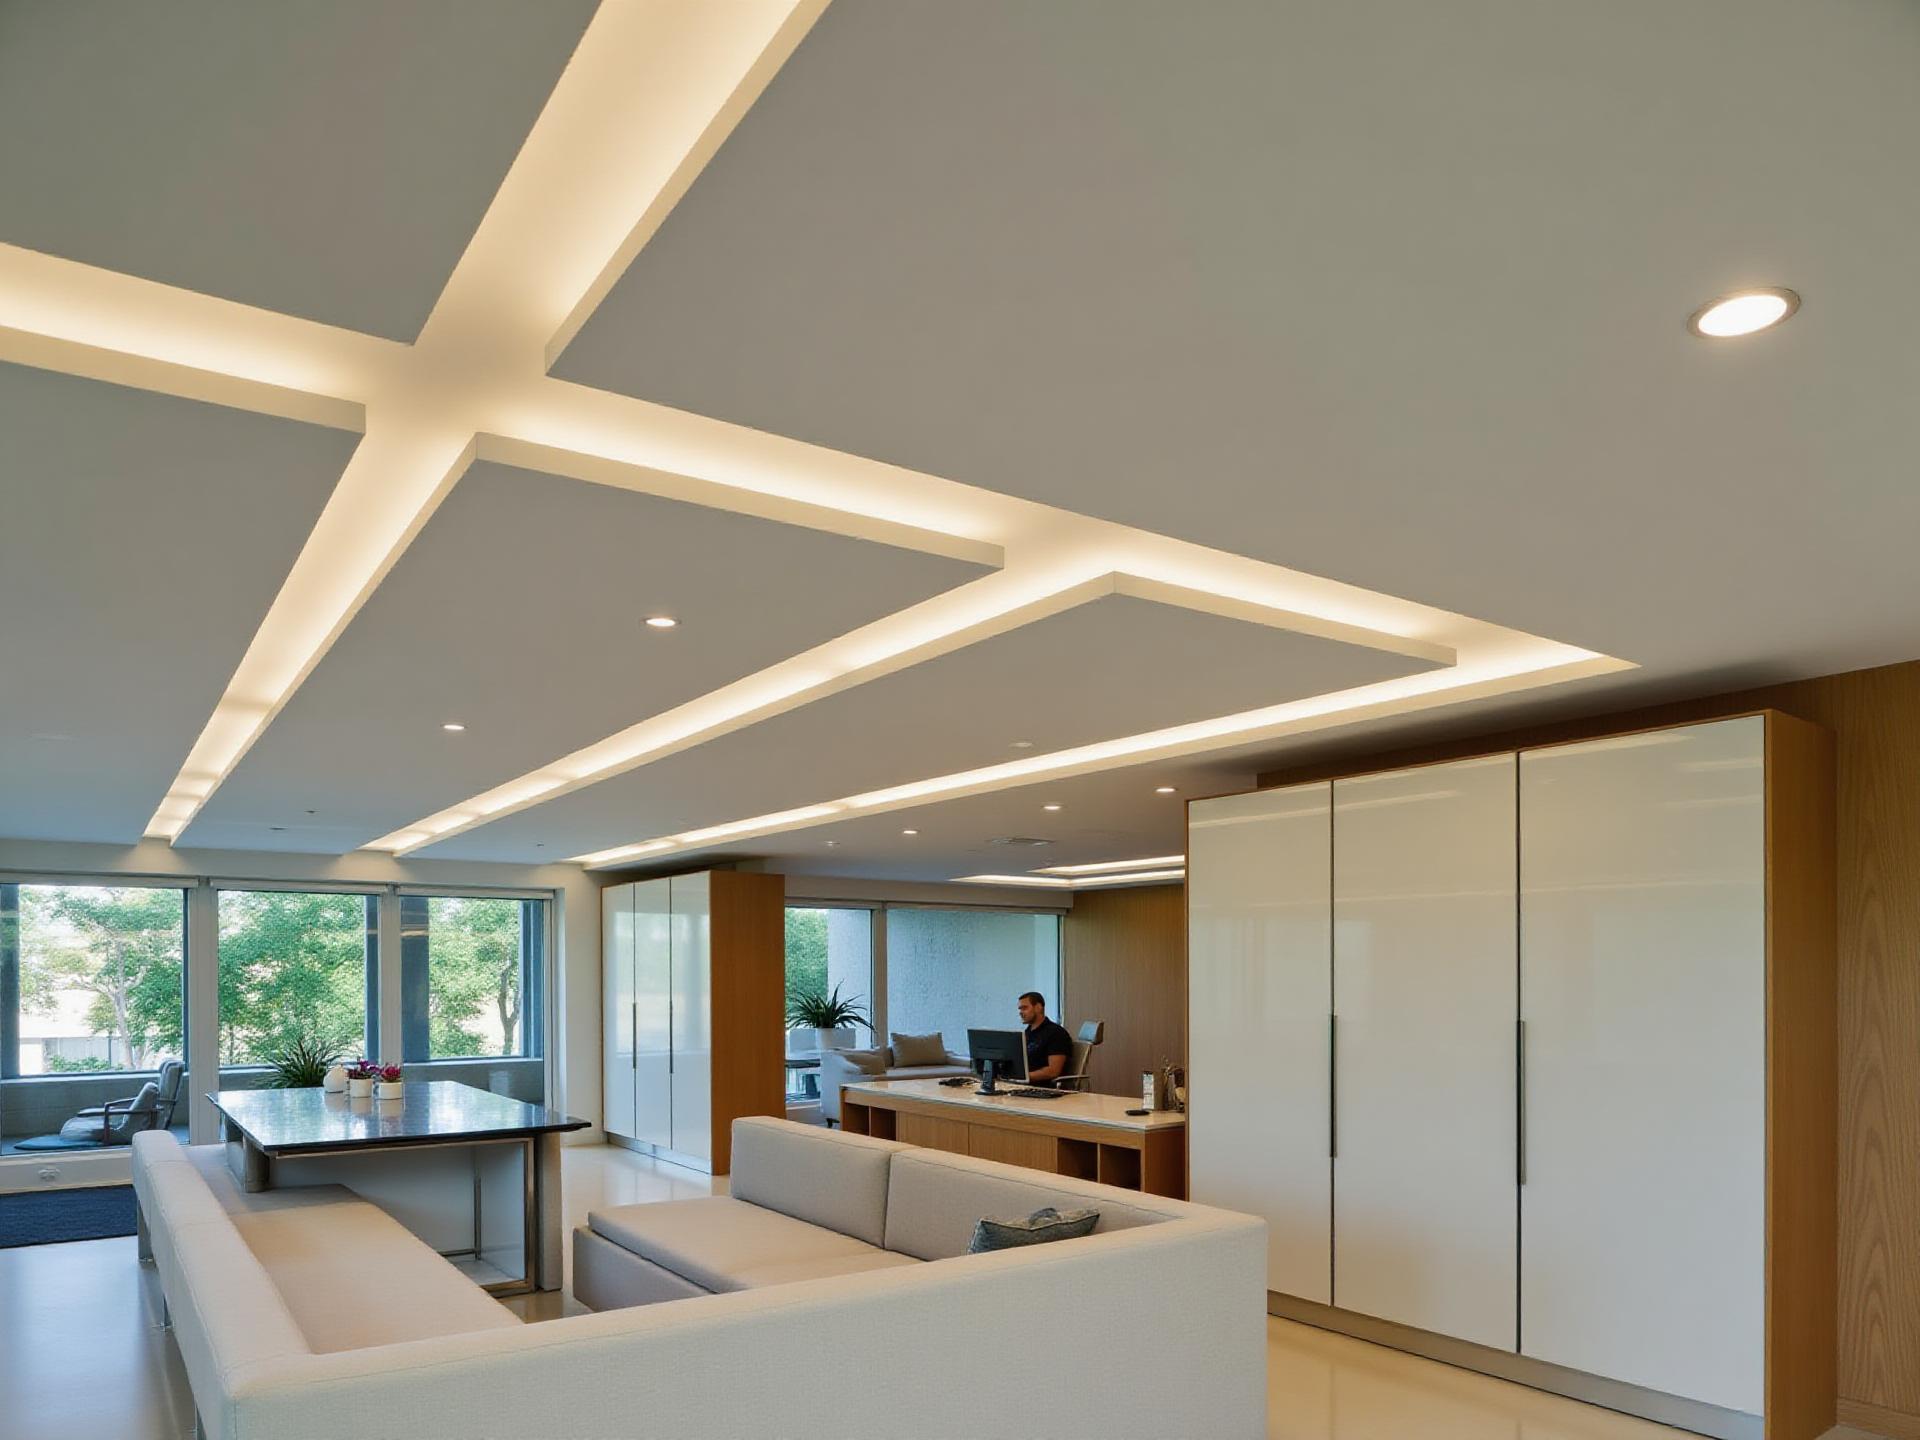
Linear LED
Cove Lighting
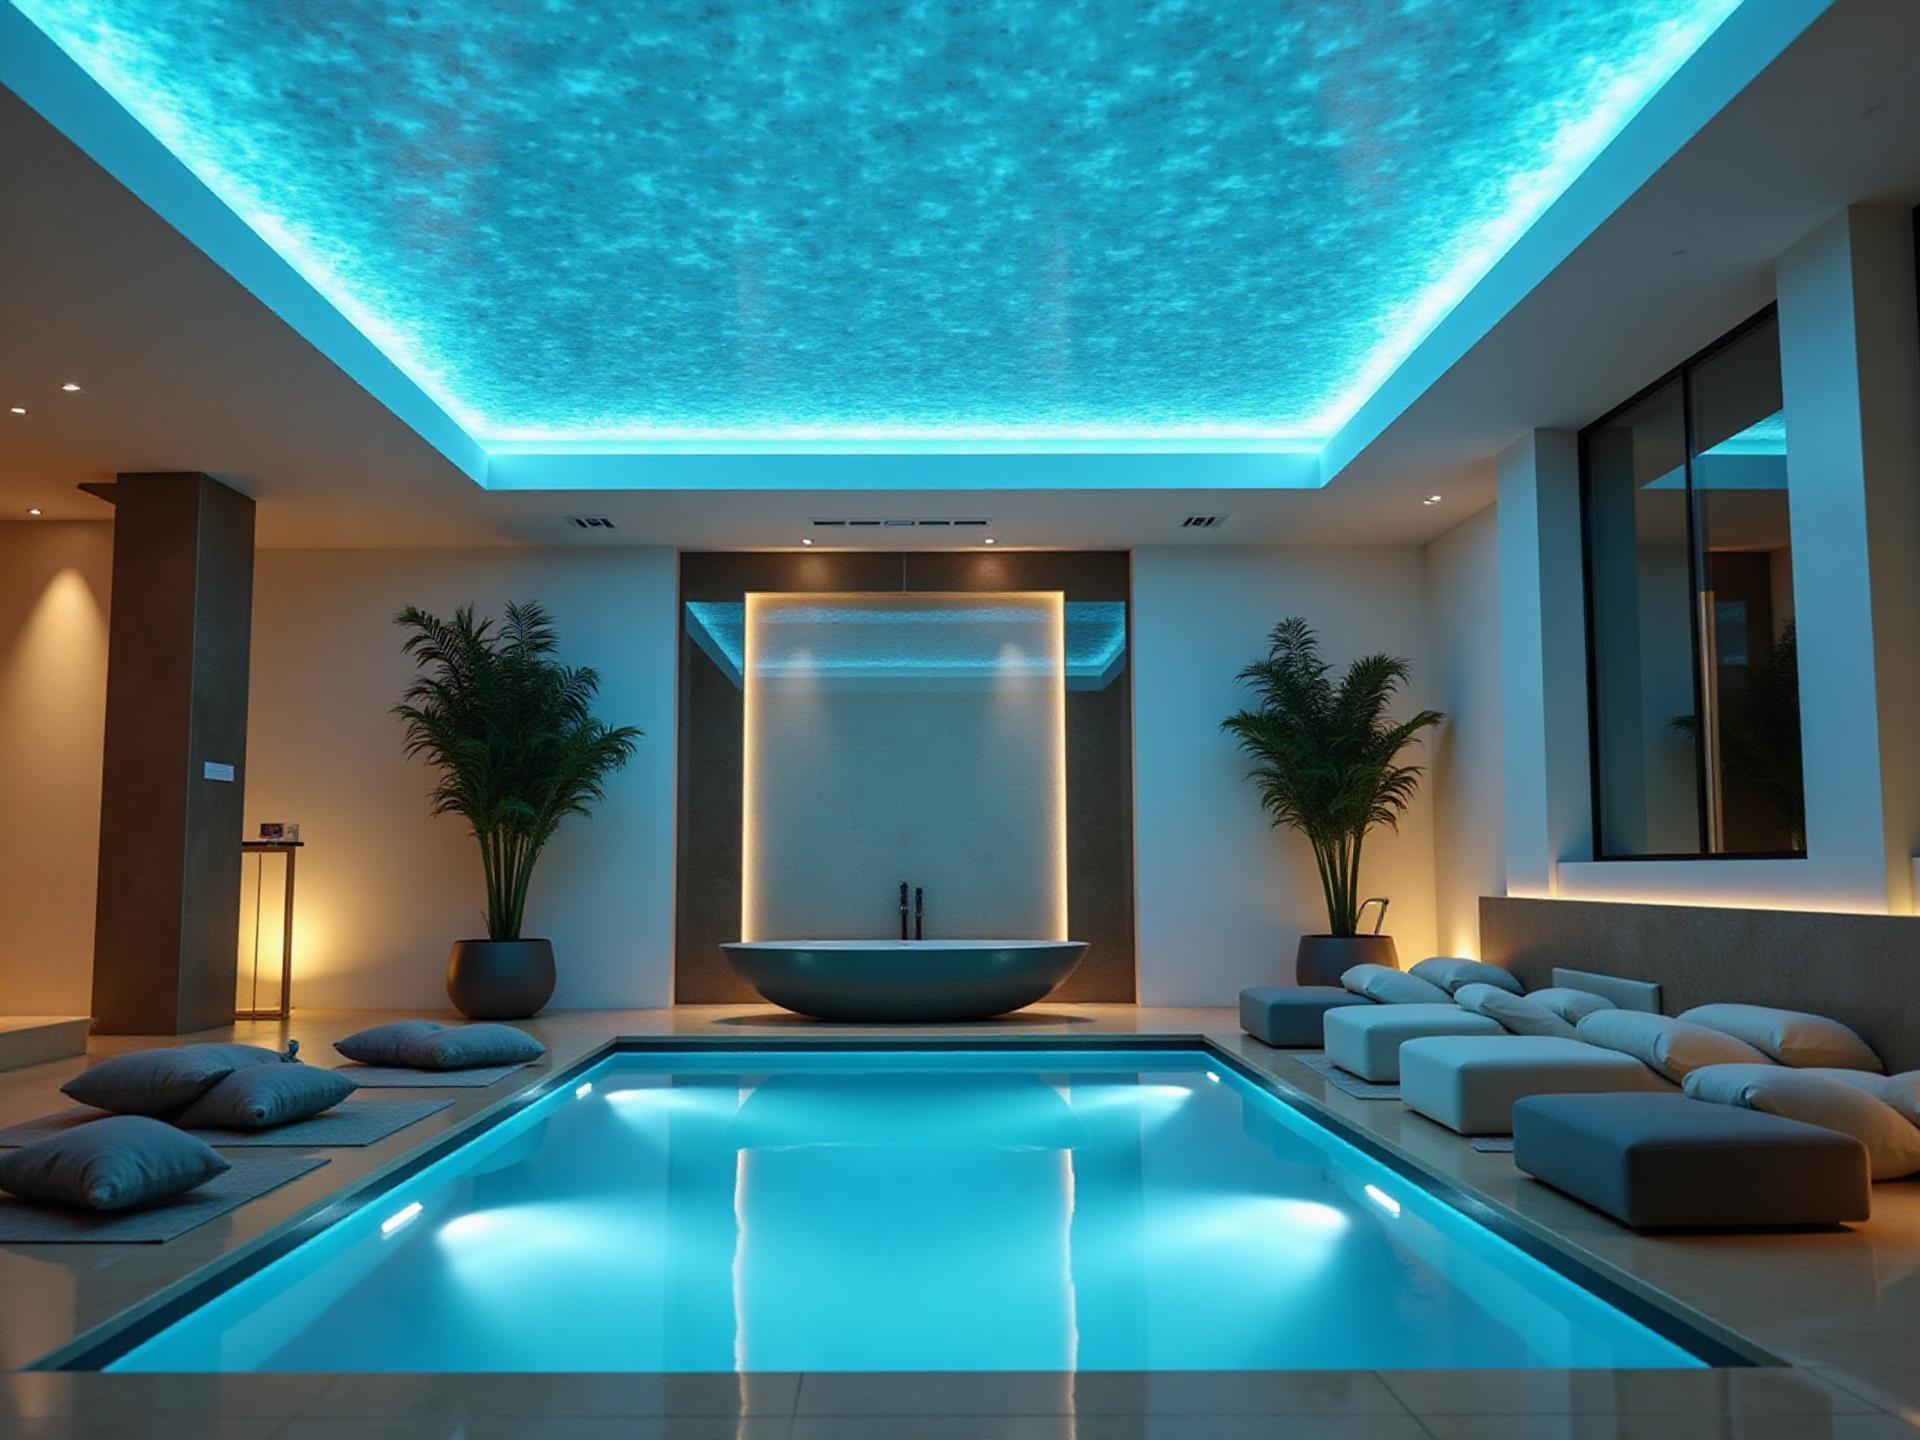
Luminous Ceilings
Starlight Ceilings
Chandeliers & Fans
“There is virtually no limit to what can be designed beneath a concrete ceiling using modern stretch ceiling systems.”
Explore related work: ceiling finishes, starlight ceilings, luminous ceilings, project gallery.
Step 03
Measure and Assess the Ceiling Layout
Accurate measurement defines what is possible. Membrane widths, sprinkler positions, HVAC, and smoke detectors all influence the final design.
- Dimensions & Seams
- Confirm overall dimensions and how seams (if any) will fall on the membrane width.
- Ceiling Drop
- Typically only 1.25–1.5 in is required — preserving usable ceiling height.
- Sprinklers & HVAC
- Identify every penetration: sprinklers, vents, smoke detectors, speakers.
- Wall Conditions
- Inspect wall substrate and finish where the perimeter track will anchor.
- Width Limits
- Matte, satin, and gloss membranes carry different maximum widths.
- Architectural Features
- Beams, soffits, and bulkheads define how the ceiling is composed.
Step 04
Plan the Lighting Design
Lighting is designed before a single track is mounted. Layout, dimming zones, and color temperature define how the finished space feels.
Recessed
Even, glare-free downlight spacing.

Linear LED
Long runs aligned with architecture.
Cove Lighting
Soft architectural perimeter glow.

RGB / Scenes
Color-tuneable dimmable zones.
Luminous Panels
Skylight-like translucent glow.
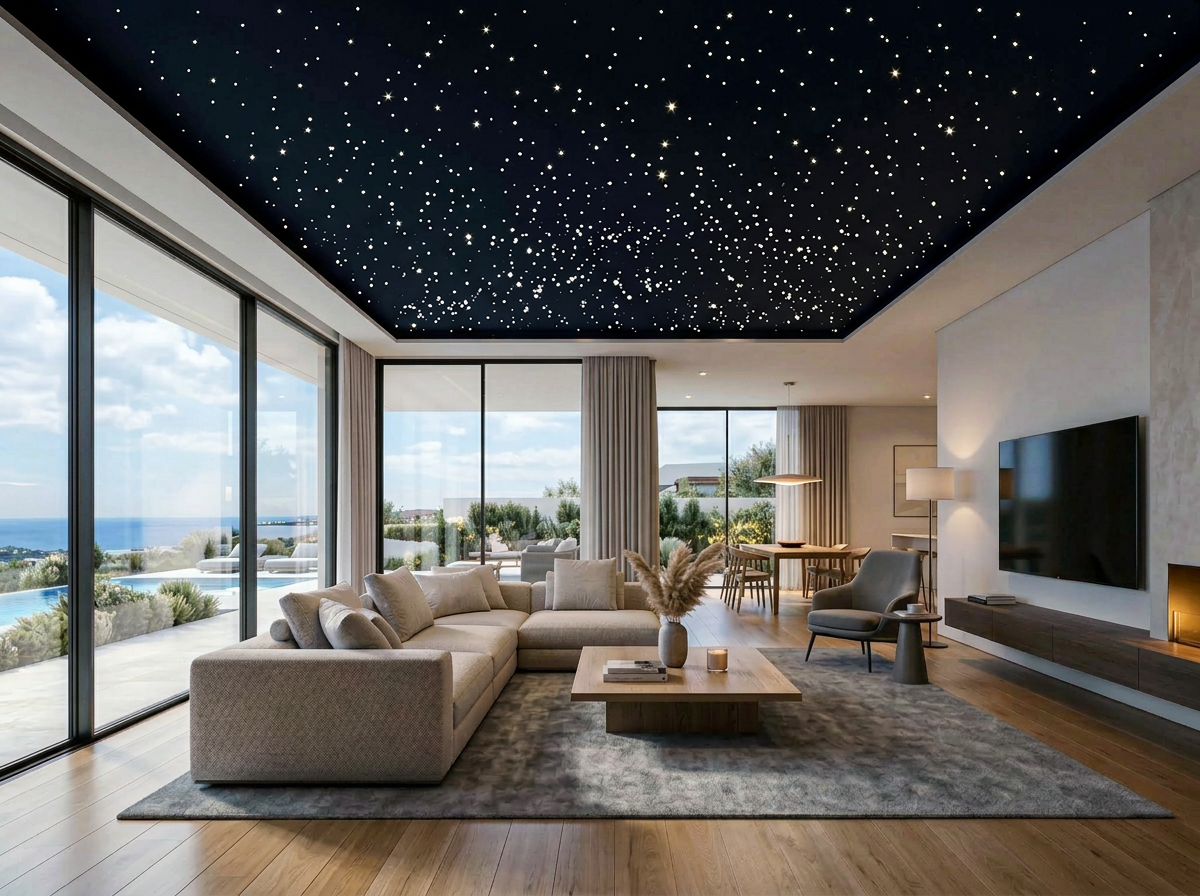
Starlight
Fiber-optic constellations overhead.
Step 05
Choose the Right Ceiling Finish
The finish sets the entire mood of the room. Each material reflects light differently — pair the finish to the lighting strategy and the architecture.
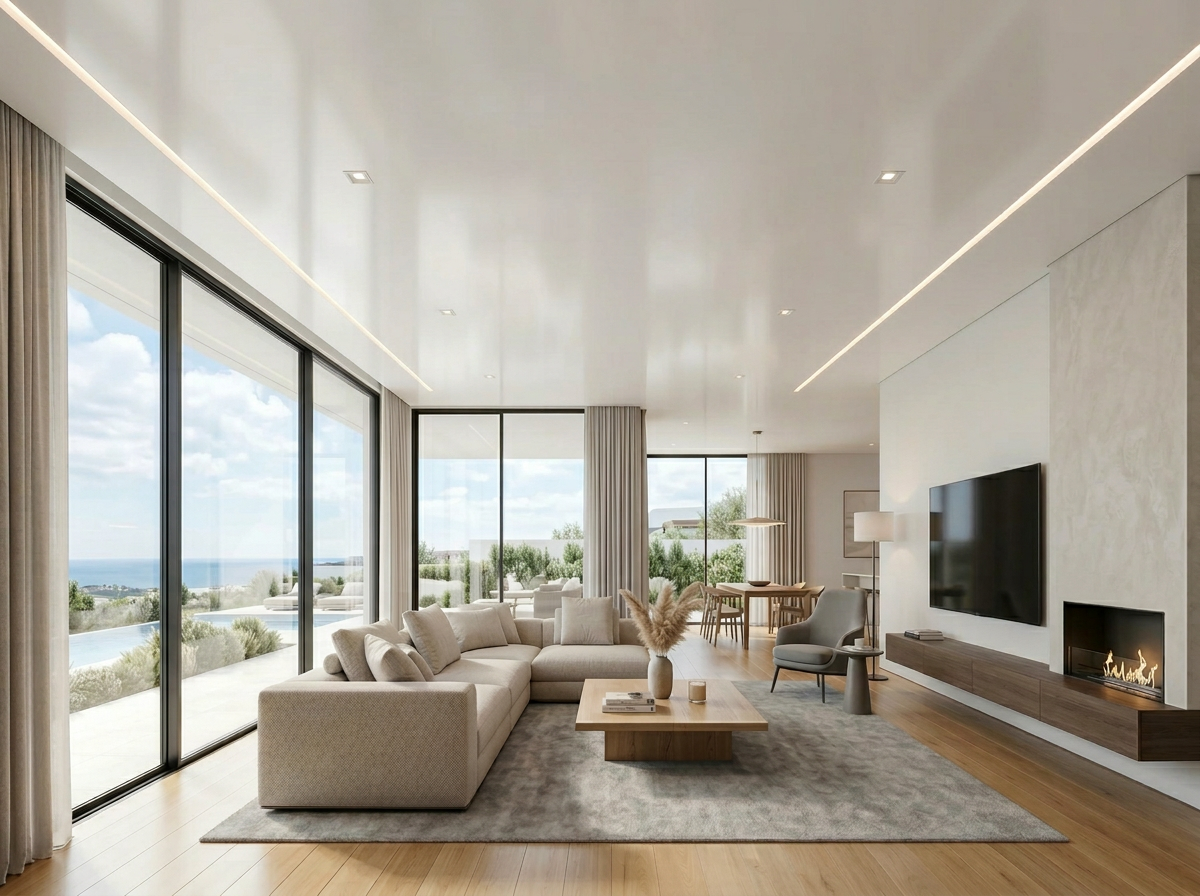
Matte White
Architectural, timeless, hides imperfections — the most popular luxury default.
Satin
Soft sheen with gentle reflection. Quietly modern.
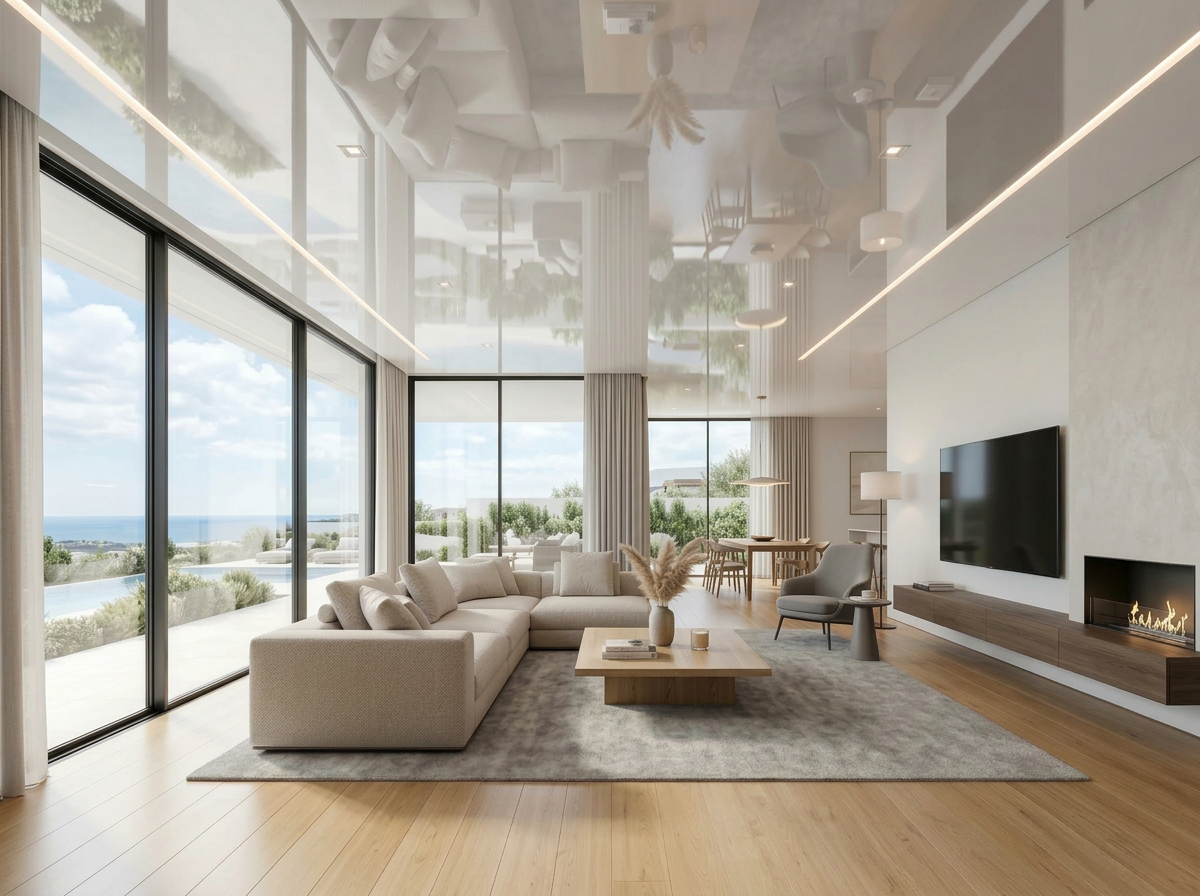
High Gloss
Mirror-like surface that visually doubles ceiling height.
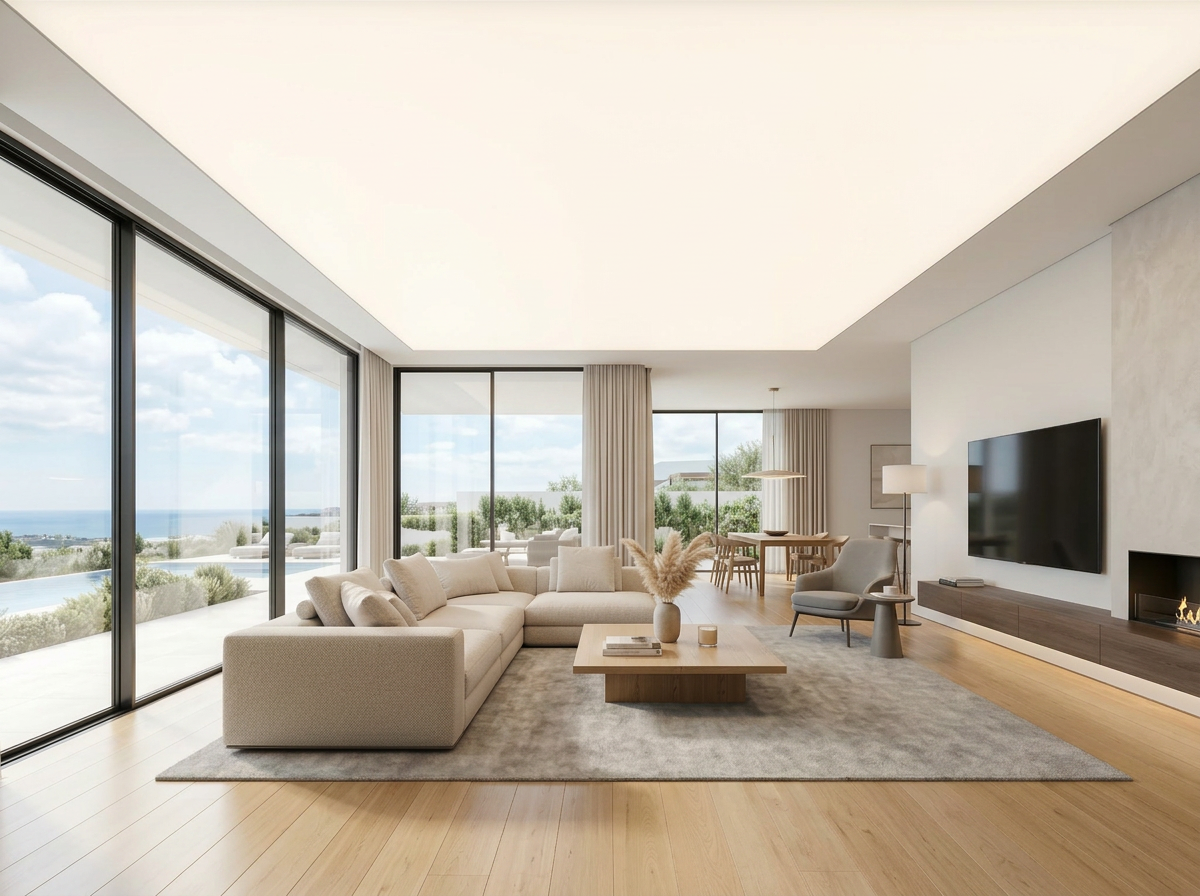
Luminous
Translucent membrane that glows from integrated LEDs.
Printed / Custom
Bespoke artwork, photography, or sky imagery.
Step 06
Plan Transformer and Driver Locations
Every LED system requires accessible drivers and transformers. Smart planning here prevents costly service later.
Accessibility
Drivers are located near service hatches or accessible panels — never sealed permanently above the membrane.
Maintenance
Locations are documented and labeled so future service is straightforward.
Low-Voltage Routing
Runs are grouped to centralized junction points, minimizing voltage drop.
Smart Home
Compatibility with Lutron, Crestron, Control4 and other dimming protocols is verified before install.
Step 07
Choose a Qualified Stretch Ceiling Installer
Stretch ceilings are precision work. The right installer is the difference between a luxury architectural feature and a compromised finish.
- Proven experience with concrete and high-rise projects
- In-house lighting integration and planning
- Certified membrane sourcing and manufacturer warranty
- References, completed projects, and clean job sites
Service Areas
Step 08
Install Track, Platforms, Lighting, and Membrane
A typical residential room is fully installed in a single day. Each stage is sequenced to protect the finish and the structure.
- 1
Perimeter Track
Anchored cleanly to surrounding walls — never the slab.
- 2
Reinforced Platforms
Hidden mounts for fixtures, chandeliers, and fans.
- 3
Wiring & Testing
All runs labeled and verified prior to closing in.
- 4
Membrane Stretching
PVC heated and tensioned into the perimeter track.
- 5
Lighting Cut-Ins
Reinforcement rings protect every fixture penetration.
Step 09
Final Cut-Ins, Testing, and Finish Details
The closing stage is where craftsmanship becomes obvious. Every fixture, dimmer, and scene is verified before the project is signed off.
Trim Rings
Set flush to the membrane for an uninterrupted plane.
Dimming Range
Every fixture tested top-to-bottom across its full range.
Scenes & Smart Home
All programmed scenes validated with the client.
Final Walkthrough
Punch list resolved on the spot. Site left clean.
Step 10
Frequently Asked Questions
Complimentary Download
The 2026 Step-by-Step Guide to Installing Lighting on Concrete Ceilings
A premium, designer-grade PDF — branded cover, architectural visuals, numbered steps, planning diagrams, finish examples, FAQ, and contact information. Save it. Share it with your designer.
- Numbered step-by-step planning
- Finish & lighting examples
- FAQ + contact reference
Palm Beach Stretch Ceilings
Transform Concrete Ceilings Into Architectural Features
Modern stretch ceiling systems create lighting and design possibilities that traditional ceilings simply cannot achieve.